-
Consumables
- Printers
- Industries
- Innovation
-
Partners
G&G Partner ProgramCo-Innovating Tomorrow Read More >
- About Us
-
Contact Us
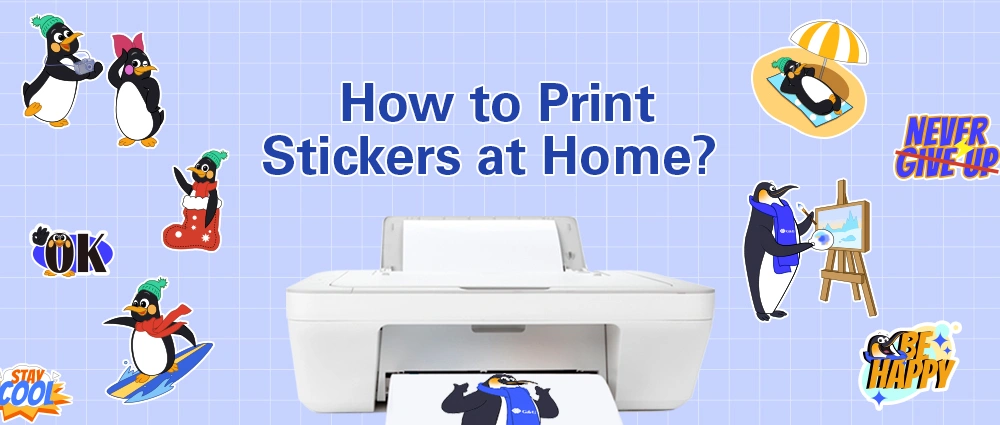
Stickers are such a simple and fun way to add a little personality to your things. You can use them on your laptop, water bottle, or notebook. Sure, you can easily buy pre-made ones, but wouldn’t it be cooler to make your own? If you want to try it, here’s an easy guide to get you started!
Do you want your stickers to have a shiny, glossy finish, or a smooth, non-reflective matte look? Glossy sticker paper makes the colors pop and is great for vibrant designs. On the other hand, matte paper gives a more subtle, and softer look, which works well for simple designs or text.
If you're looking for something more durable, vinyl sticker paper is an excellent choice. It has a plastic-like base, making it waterproof and tear-resistant. Vinyl sticker paper are perfect for outdoor use, like bumper stickers, or for items that get a lot of handling, such as water bottles and laptops.
If your stickers are going to be used outdoors or exposed to water (like for labeling jars or water bottles), you'll want to go with waterproof sticker paper. Vinyl sticker paper is especially good for this since it holds up well in wet conditions. You can also get waterproof options in both glossy and matte finishes. Regular paper, however, won’t last. It’s likely to smudge or peel if it gets wet.
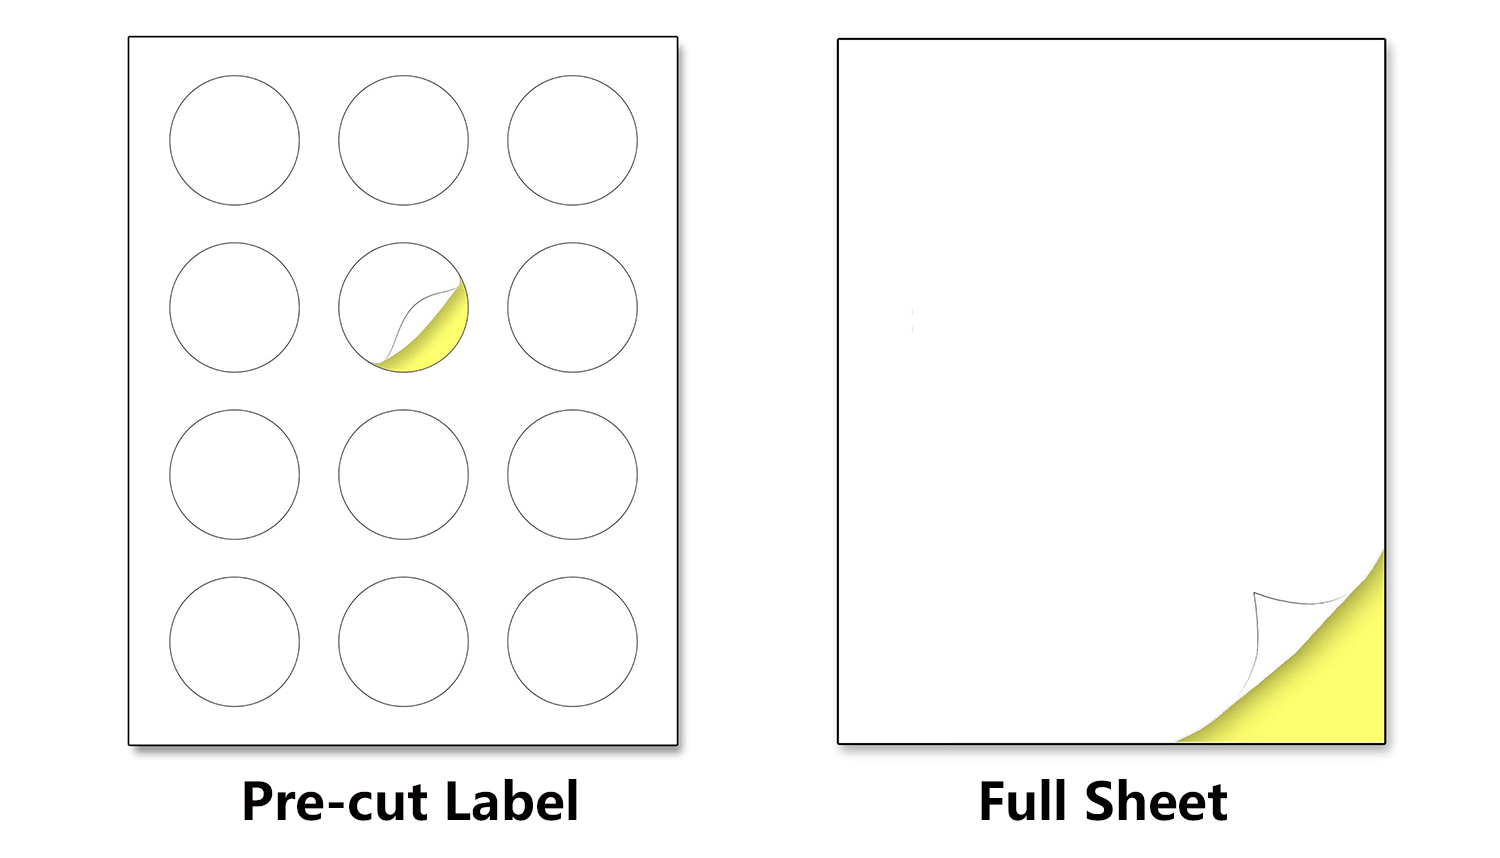
Pre-cut labels are already shaped (round, square, oval, etc.), so they’re ready to use right after printing. No cutting needed. They’re convenient for labeling jars, bottles, and things like that.
Full sheets give you more flexibility. You can design stickers in any shape or size you want. You can fit many different designs on one sheet, which is perfect for projects that need unique shapes or larger stickers, like custom logos or wall art. And you can make the most of the space and reduce waste!
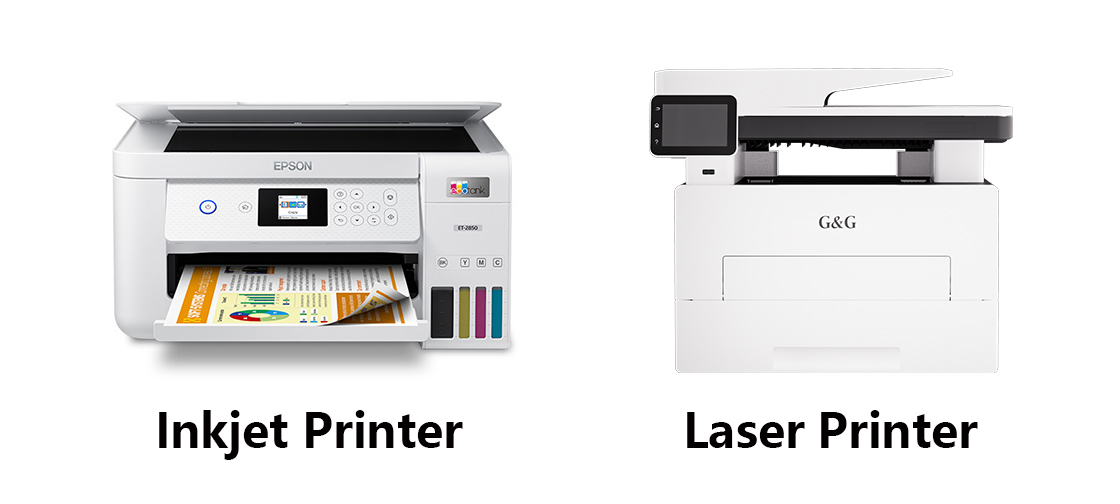
Most sticker paper works with both laser and inkjet printers. If you are looking for vibrant, colorful stickers with fine details, an inkjet printer is usually the better option. It produces bright, vivid colors that make your sticker pop. Laser printers are faster and better for printing a lot of stickers at once, but the colors may not be as vibrant as with inkjet.
Print quality matters too. For good-quality prints, choose a printer with at least 1200 DPI so your designs come out sharp. And make sure the printer can handle different sticker papers, like matte, glossy, or vinyl.
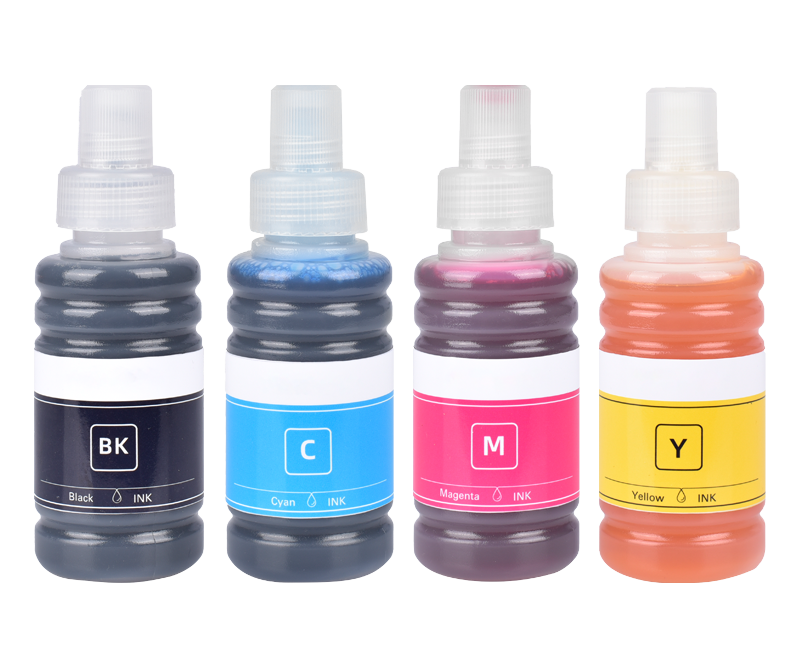
If your stickers need to last, especially outdoors, pigment inks are more resistant to fading and water than dye-based ones. Dye inks, on the other hand, give you brighter colors but tend to fade quicker. But if you still prefer dye inks, G&G’s dye inks have been improved to resist fading better, so that’s a good option.
If you're using a laser printer, you’ll be printing with toner powder instead of liquid ink. Toner can stick on sticker paper too but doesn’t give you the same vibrant colors as inkjet printers.
You can use design tools like Adobe Illustrator, Photoshop, or Canva to create your sticker design. Just make sure the size of your design matches the paper you’re printing on. If you're new to design, there are plenty of free sticker templates online to get you started.
Make sure your printer is set to the correct paper size and type. For inkjet printers, choose the ‘photo paper’ or ‘glossy paper’ setting if you’re using glossy sticker paper. For laser printers, check that the settings match the thickness of your paper. Load the paper into the tray. Usually, the printable side goes face down, but double-check your printer’s instructions.
Once everything is set, hit the print button! If you’re printing a lot of stickers, it’s a good idea to do it in smaller chunks so your printer doesn’t get overloaded.
After printing, give your stickers a few minutes to dry completely, especially if you’re using glossy sticker paper or inkjet ink. You don’t want to smudge all that hard work.
If you didn’t use pre-cut sticker paper, you’ll need to cut your stickers out. You can use scissors, a craft knife, or a paper cutter. For more precise cuts, a cutting machine like a Cricut or Silhouette works better.
Now your stickers are ready to go! Just peel them off the backing and stick them wherever you like. You can use them for personalizing notebooks, laptops, or even as custom product labels.
