-
Consumables
- Printers
- Industries
- Innovation
-
Partners
G&G Partner ProgramCo-Innovating Tomorrow Read More >
- About Us
-
Contact Us
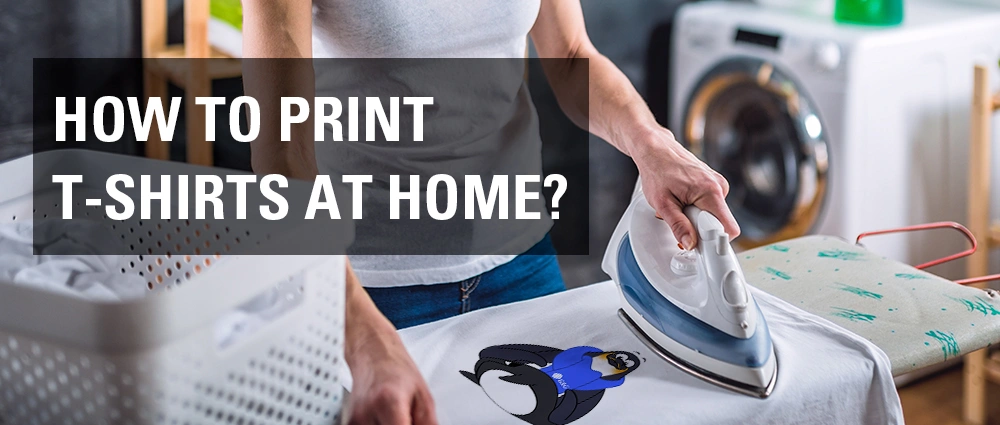
You probably have some graphic T-shirts hanging in your closet. Did you know you can design and print your own shirts at home? It's a fun and easy way to make custom designs for yourself or your family. You don't need to be a professional or invest in expensive equipment. This step-by-step guide will show you how to make a DIY custom print shirt right from home.

An inkjet printer is needed to print your design onto the transfer paper. It's great if you already have one at home. You can get started faster.
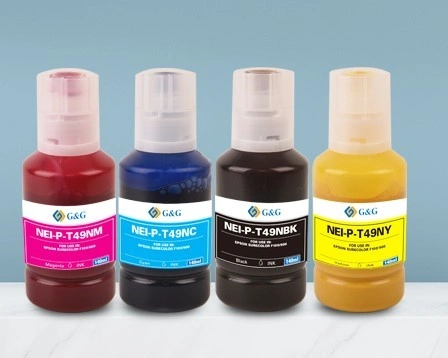
Sublimation ink works best for printing on heat-transfer paper. Other inks won't transfer successfully. G&G sublimation ink is ideal for this job, as it's durable and gives vibrant colors.
Choose a cotton T-shirt for better results. Lighter colors work well with light transfer paper, while darker shirts will need dark transfer paper.
To create a clean image, you'll need to use scissors or a cutter to cut around your printed design before applying it to the shirt.
You'll need a heat source to transfer your design onto the T-shirt. A regular household iron works fine if you don't want to buy a heat press.
The first step is designing your artwork. You can create something yourself using design software like Canva, Photoshop, or Illustrator, or you can download free or affordable designs online.
If you're using light transfer paper for a white shirt, make sure to flip your image before printing so that it's mirrored.
To do this, you can look for the the "mirror" or "reverse" setting in the print options window. Or you can mirror your image using Photoshop. In Photoshop, go to "Image", find "Image Rotation," and choose "Flip Canvas Horizontal."
If your image isn't mirrored, it will appear reversed and unreadable on the T-shirt. Do not mirror the image if you are using dark transfer paper for darker shirts. Just print it as is.
Once your design is ready, print it onto your heat transfer paper. Be sure to load the paper correctly into your inkjet printer with the printable side facing down. The printable side is usually blank and the other side may have a logo, design or indicators on it. Use sublimation ink to make sure your design can be successfully transferred onto fabric.
Any extra paper around the image will show up as a thin film on the shirt. If you want a clean look, you can use scissors or a cutter to carefully cut around your design, leaving a smaller margin.
Before applying your design, wash and dry the shirt to remove any dirt. Lay it flat on a hard, heat-safe surface, like a table or cutting board. If there's wrinkles on the shirt, you can iron them out.
Now it's time to apply the design to your shirt! If you're using light transfer paper for light color shirts, place the design face down on the shirt. Since you've mirrored the design before you print it out, it will appear correctly on your shirt.
But If you're using dark transfer paper for dark shirts, peel off the backing and place the image face up. It will appear on your shirt just as you see.
Once you've placed the image where you want it, then place a plain white paper or the protective sheet that comes with the transfer paper over the design. This protects your design from direct touch of the iron.
Empty any water from your iron and make sure that the steam setting is off. Set your iron to the highest temperature. Iron the design for 40 seconds and makes sure that you're applying a good amount of pressure. Move your iron up and down, side to side to make sure to cover the entire design evenly. The pressure and heat will transfer the design onto the fabric.
Let the shirt cool for about 2 minutes, then carefully peel off the backing. Now you’ve created your own custom T-shirt!
Allow the T-shirt to fully cool before wearing or washing it. This helps the design set into the fabric and makes sure it won't peel off easily.
The best way to wash your shirt without damaging the prints is to wash it inside out in cold water. It's best to hang it to dry. Avoid using bleach or fabric softener, and if you need to iron the shirt, do so inside out to protect the design.


