Have you ever suffered from the problems that your printed pages are covered by grey background as shown below: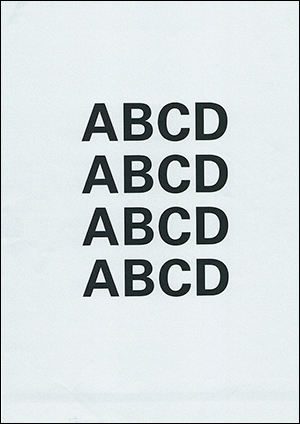
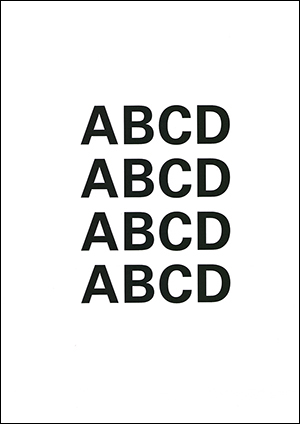
With Gray Background Normal
Check again the PDF/Word file and confirm there is not background or watermark. Is the laser printer broken? Don’t panic, 2 simple steps to solve the problem.
Step 1. Lower the toner density
The contents of the printed pages are formed by the toner adsorption. If the toner density is too high, printer would launch much toner on the paper, resulting in grey background on the pages. So we can try to manually lower the toner density.
Firstly, we should reach “Toner Density” control menu on printer’s control board, general operation paths:
“Administration” → “General Setting” → “Print Quality” → “Toner Density”
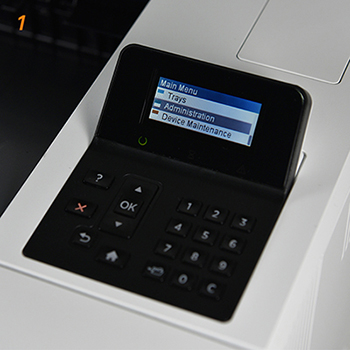
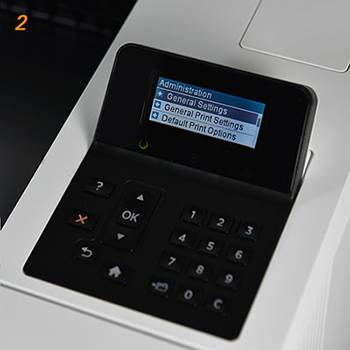
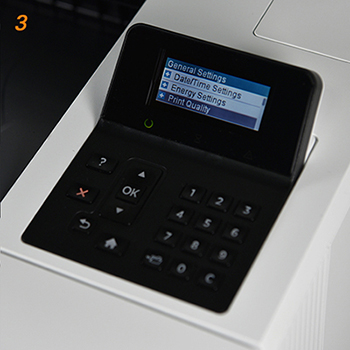
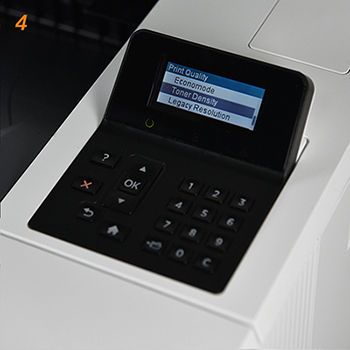
Now you can manually lower the toner density.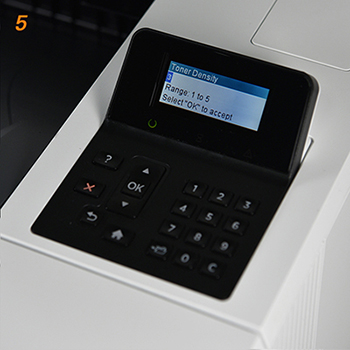
Print the documents again. If gray background is no longer appears, the issue is resolved.
If the print still has a gray background, go to step 2.
Step 2. Reinstall the toner cartridge
Another cause of the grey background may be that the toner cartridge is not installed properly, resulting in loosing contact. So we can also reinstall the toner cartridge to check if the problem is resolved.
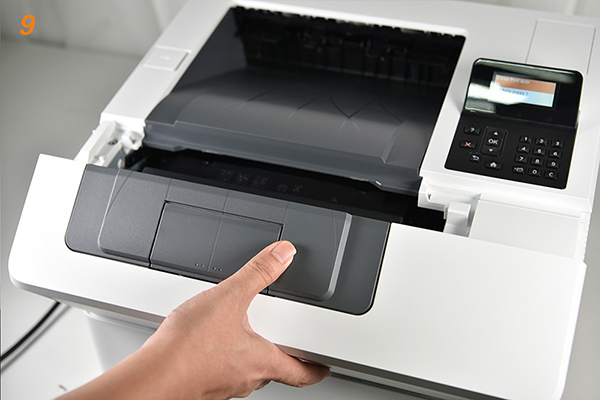
Firstly open the printer cover, and remove the cartridge.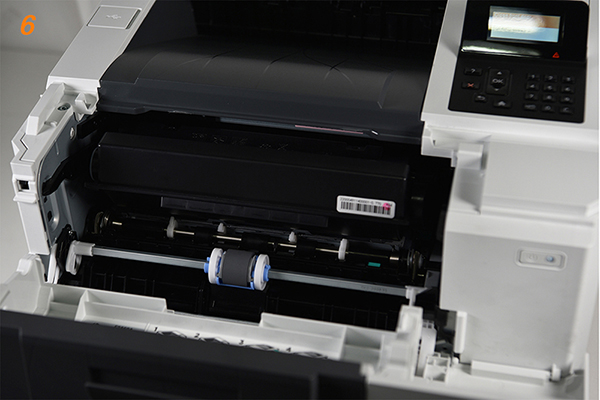
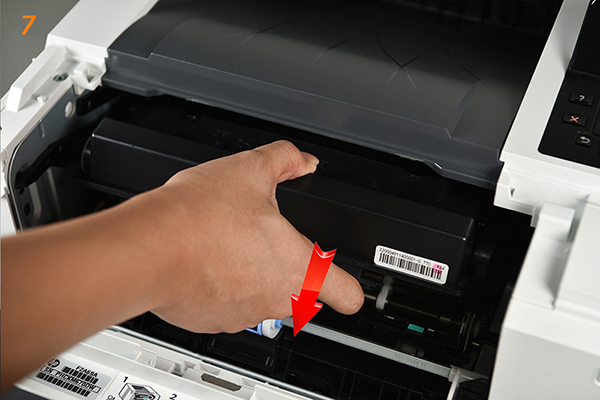
Then re-install the cartridge and close the cover.
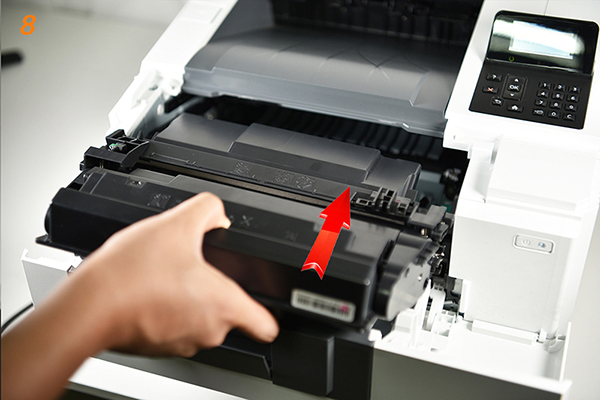
Be careful not to keep the cartridge under direct light for more than 10 minutes. That may cause more printing quality problems!
Print again to see whether the problem is solved!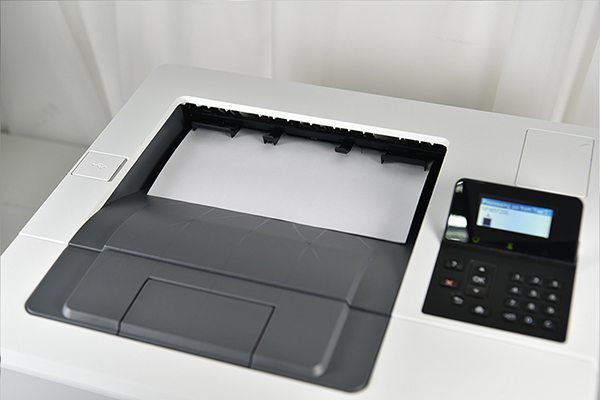
If the problem has not been solved, please contact the G&G technical support via email: info@ggimage.com.

